Getting the Heat Right: Screen-Printed Glass and IR Preheating
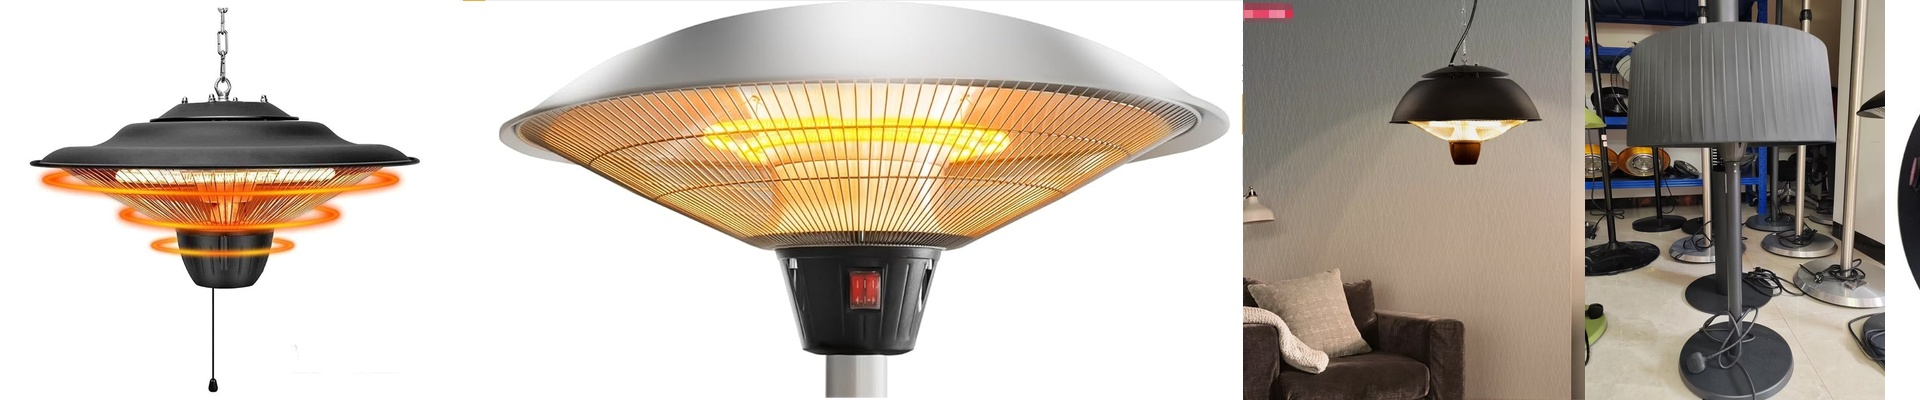
Combining screen printing with tempering is a bit of a balancing act. You need enough heat to bake the ink and get the glass ready for the quench, but if you push it too far in the wrong spot? Your patterns blur or the glass shocks. It’s a headache. That’s why we lean on shortwave infrared (IR) lamps. They help us hit that sweet spot where everything just works. Keeping your prints sharp The trick is getting the surface hot without soaking the core of the glass too fast. We use shortwave IR because it hits the surface quickly. It cures the ink without turning the whole sheet into an oven. If the heat is patchy, you get “ghosting”—those annoying blurred edges that make a job look amateur. To stop that, we just tweak the lamp spacing and the conveyor speed. It keeps the heat steady across the whole sheet. Simple as that. The strength factor Glass strength is all about the temperature drop during the quench. If your preheater overdoes it, you lose that gap, and your strength drops. We set these systems to hit a very specific soak temperature. You want the glass pliable enough for tempering, but not so hot that the ink starts to burn or turn into carbon. It’s a tight window, but it’s the only way to get a clean, strong finish. The gritty details Here’s the thing: high-wattage IR arrays are great for thick glass, but they’re power-hungry. They’ll pull a lot from your electrical panels. Make sure your wiring can handle the peak current, or you’ll deal with voltage drops that mess everything up. And these things gethot. Like, really hot. If a cooling fan quits, the housing can actually warp. I always suggest putting in independent thermal cut-offs. It’s a small addition, but it saves you from burning out the whole system if the ventilation fails. Better safe than sorry.